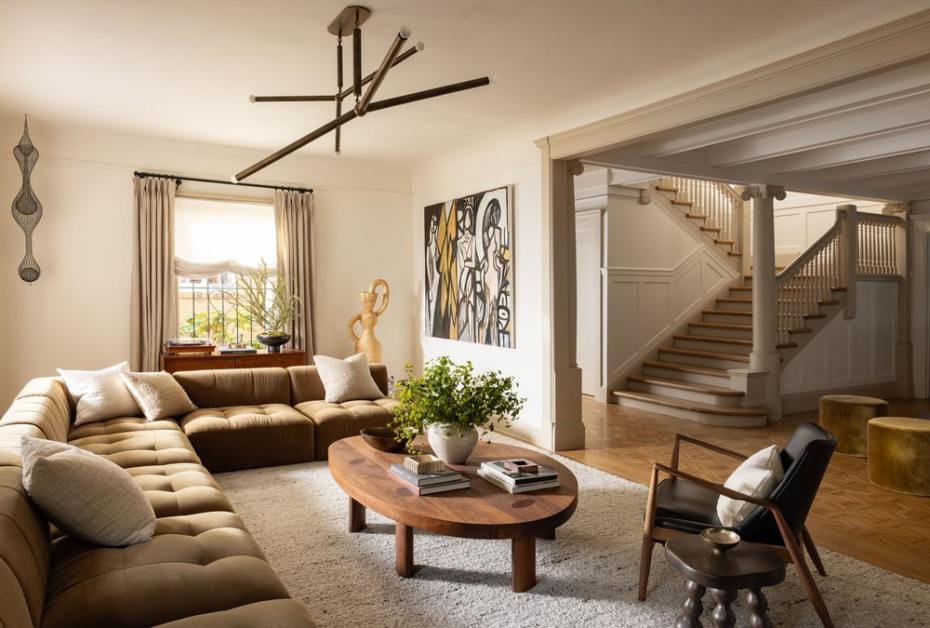
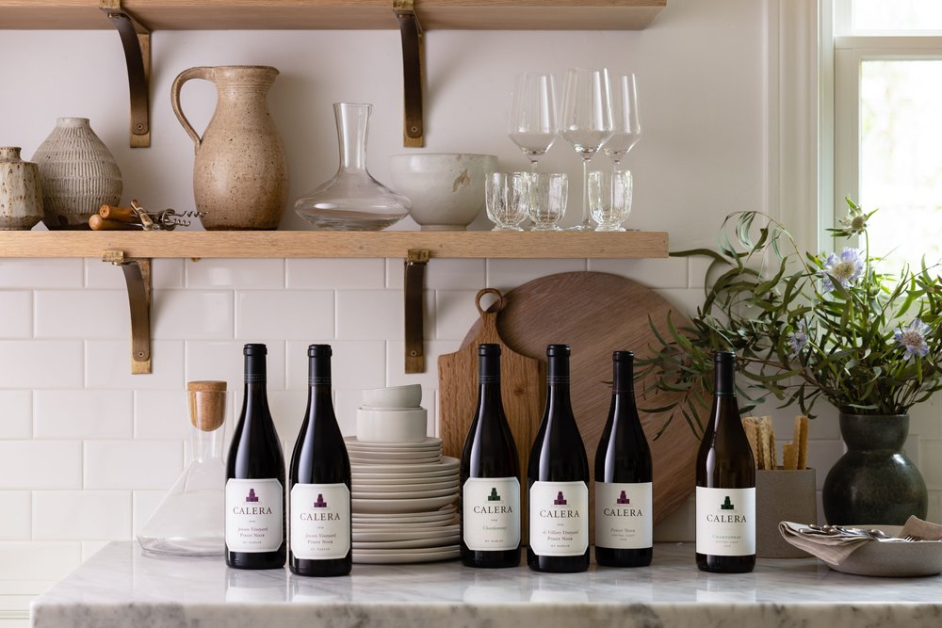
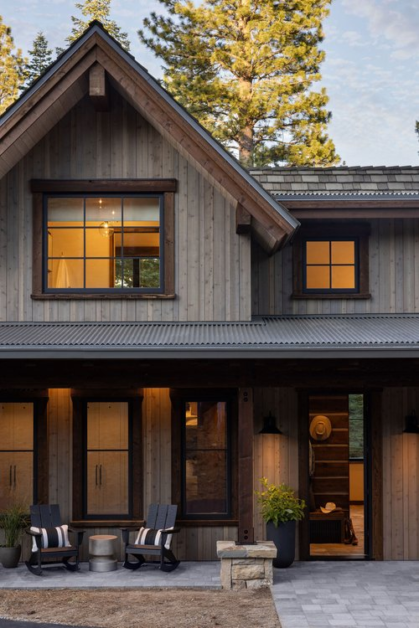
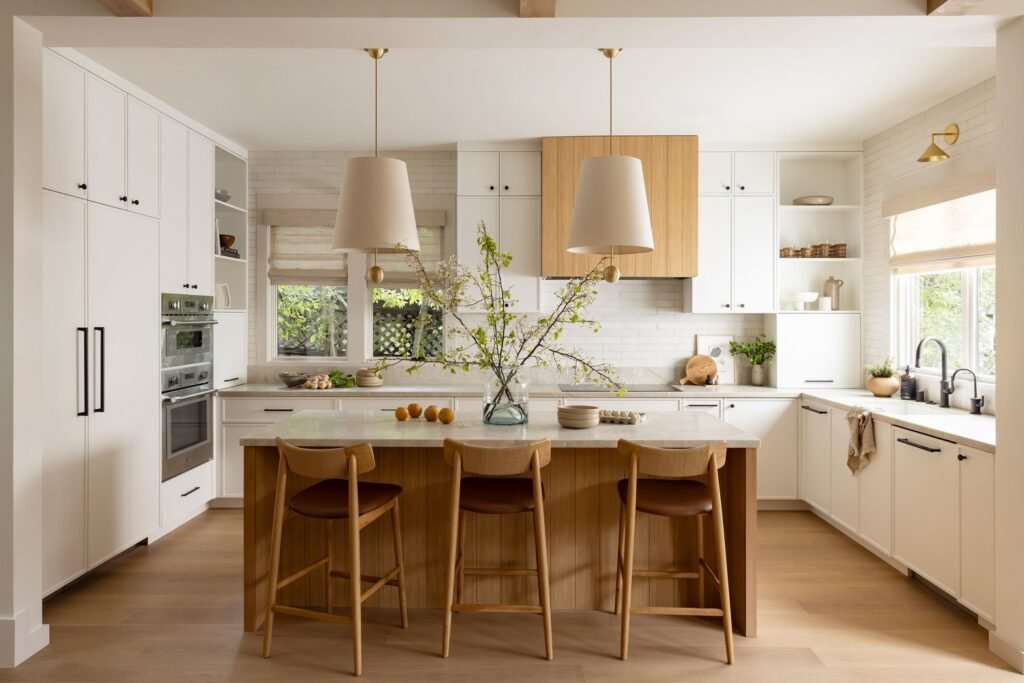
Capturing the beauty of your home’s interior can be both an art and a science. Whether you’re looking to showcase your décor, document a renovation, or simply capture the essence of your living space, knowing how to take stunning interior photos is essential. As a Sacramento home interior photographer, I’ve learned that the key to great interior photography lies in attention to detail, lighting, and composition. In this blog, I’ll share my top tips for capturing stunning interior photos in your Sacramento home, helping you highlight the unique features and personality of your space.

1. Understand the Importance of Lighting
Lighting is the most critical element in interior photography. The way light interacts with the objects in a room can significantly affect the mood and overall look of your photos.
Natural Light:
- Utilize Natural Light: The best interior photos are often taken with natural light. Open your curtains and blinds to let in as much natural light as possible. Early morning or late afternoon light tends to be softer and more flattering, creating a warm and inviting atmosphere in your photos.
- Avoid Harsh Light: Direct sunlight can create harsh shadows and bright spots that may be difficult to edit out later. If the light is too strong, consider diffusing it with sheer curtains or waiting for a cloud to soften the light.
Artificial Light:
- Supplement with Artificial Light: In darker rooms or during overcast days, you may need to use artificial light sources to brighten up the space. Use lamps, overhead lights, or even portable light panels to fill in shadows and enhance the visibility of the room’s details.
- Match Color Temperatures: Mixing different types of light (e.g., daylight from windows and warm light from lamps) can result in color temperature imbalances that may make your photos look unnatural. Try to keep the color temperature consistent by using bulbs with similar color temperatures or adjusting the settings in your camera.

2. Master Your Camera Settings
To capture stunning interior photos, understanding your camera settings is crucial. Whether you’re using a professional DSLR or a smartphone, getting familiar with your camera’s manual mode will give you greater control over the final image.
Aperture:
- Use a Smaller Aperture (Higher f-stop): For interior photography, it’s often best to use a smaller aperture (e.g., f/8 to f/16) to ensure that the entire room is in focus. This will create a greater depth of field, allowing you to capture sharp details throughout the frame.
ISO:
- Keep ISO Low: A low ISO setting (e.g., 100 or 200) will produce clearer images with less noise. However, if the room is dark, you may need to increase the ISO slightly to brighten the image, but be mindful of adding too much noise.
Shutter Speed:
- Stabilize with a Tripod: Interior photography often requires slower shutter speeds to let in more light. To avoid blurry images, use a tripod to stabilize your camera. This will allow you to use longer exposures without worrying about camera shake.
White Balance:
- Adjust White Balance: Ensuring accurate colors is essential in interior photography. Adjust the white balance settings on your camera to match the lighting conditions in the room. You can also adjust the white balance in post-processing if needed.

3. Consider the Composition and Angles
Composition and angles play a significant role in how a room is perceived in a photograph. A well-composed image will draw the viewer’s eye to the key features of the space and create a sense of balance.
Rule of Thirds:
- Use the Rule of Thirds: This classic photography rule suggests dividing the frame into a 3×3 grid and placing the key elements along the grid lines or at their intersections. This creates a balanced and visually appealing composition.
Leading Lines:
- Incorporate Leading Lines: Leading lines guide the viewer’s eye through the image. In interior photography, these lines could be the edges of furniture, the lines of a floor, or the shape of a staircase. Use these lines to direct attention to the focal points of the room.
Symmetry and Balance:
- Aim for Symmetry: Symmetry can create a sense of harmony and order in interior photos. Position your camera so that elements like windows, doorways, or furniture are balanced on either side of the frame.
- Find the Best Angle: Experiment with different angles to find the most flattering perspective of the room. Shooting from a lower angle can make the room appear larger while shooting from a higher angle can highlight architectural details.

4. Declutter and Stage the Space
Before you start shooting, take the time to declutter and stage the space. A clean, well-organized room will photograph better and allow the key features to shine.
Decluttering:
- Remove Distractions: Clear away any unnecessary items that could distract from the main focus of the photo. This includes everyday clutter like mail, electronics, or personal items that don’t contribute to the aesthetic of the space.
- Simplify the Space: Less is often more when it comes to interior photography. Simplify the room by removing excess furniture or décor that could make the space feel crowded.
Staging:
- Add Finishing Touches: Once the space is decluttered, consider adding a few finishing touches to enhance the room’s appeal. This could include fresh flowers, stylish throw pillows, or a well-placed piece of art.
- Highlight Key Features: Stage the room in a way that draws attention to its most attractive features, whether it’s a cozy fireplace, a statement piece of furniture, or a stunning view through the windows.

5. Post-Processing Techniques
Even the best-captured photos can benefit from a bit of post-processing. Editing your photos can help correct any minor issues and enhance the overall look of the images.
Basic Adjustments:
- Brightness and Contrast: Adjust the brightness and contrast to make sure the image is well-lit and the details are clear. Be careful not to overexpose the highlights or lose details in the shadows.
- Straighten and Crop: Ensure that the lines in your photos are straight and that the composition is tight. Cropping can also help remove any distracting elements at the edges of the frame.
Color Correction:
- Balance Colors: If the colors in your photo don’t look quite right, use color correction tools to adjust the white balance, saturation, and tint. This will help ensure that the colors are true to life and visually appealing.
- Enhance Vibrancy: Increasing the vibrancy can make the colors pop without making them look unnatural. This can be particularly effective in highlighting décor or architectural details.
Advanced Editing:
- HDR Processing: High Dynamic Range (HDR) processing can help balance the exposure in images where there is a wide range of light levels, such as bright windows and darker interiors. This technique can help you capture all the details in both the highlights and shadows.
- Sharpening: Apply sharpening to enhance the details in your image. This can help make textures like wood grain, fabrics, and other surfaces stand out.

6. Plan Your Shots and Timing
Planning is key to capturing stunning interior photos. Consider the time of day, the weather, and the specific areas of your home that you want to highlight.
Time of Day:
- Golden Hour: The best time to shoot interiors is during the “golden hour,” which is the period shortly after sunrise or before sunset. The light during these times is soft and warm, creating a beautiful ambiance in your photos.
- Consider the Seasons: Different seasons bring different lighting conditions. For instance, summer light is often bright and direct, while winter light is softer and more diffused. Plan your shoot according to the season to make the most of the natural light.
Pre-Shoot Walkthrough:
- Identify Key Shots: Before you start shooting, walk through your home and identify the areas that you want to capture. This will help you plan your shots and ensure that you don’t miss any important details.
- Test Shots: Take a few test shots to see how the light and angles are working. This will give you an idea of what adjustments you might need to make before the actual shoot.

7. Showcase Unique Features
Every home has unique features that set it apart. Whether it’s a beautiful piece of furniture, a striking architectural element, or a stunning view, be sure to capture these details in your photos.
Focus on Details:
- Highlight Textures and Materials: Pay attention to the textures and materials in your home, such as wood, stone, fabric, or metal. These details can add depth and interest to your photos.
- Capture the View: If your home has a great view, make sure to include it in your shots. This could be a view of the garden, the city skyline, or a nearby park.
Tell a Story:
- Create a Narrative: Think about the story you want to tell with your photos. Are you highlighting a recent renovation, showcasing your personal style, or capturing the cozy atmosphere of your living room? Let this narrative guide your composition and shot selection.
Professional Photography for Your Sacramento Home
While capturing beautiful interior photos on your own can be rewarding, there’s nothing quite like the expertise of a professional photographer to bring out the true essence of your home. For homeowners in Sacramento looking to showcase their interiors with stunning, high-quality images, Stephanie Russo offers unparalleled interior photography services. With an eye for detail and a passion for creating visually compelling images, Stephanie ensures that every photo captures the unique beauty and personality of your space. Trust a professional to highlight your home’s best features and create images that will impress and inspire.
Conclusion
Capturing stunning interior photos in your Sacramento home doesn’t have to be a daunting task. By understanding the importance of lighting, mastering your camera settings, paying attention to composition, and taking the time to stage your space, you can create beautiful images that truly showcase the best of your home. Remember, even the best photos can benefit from a little post-processing to enhance their final appearance. Whether you’re a homeowner looking to document your space or a Sacramento home interior photographer aiming to build your portfolio, these tips will help you capture the essence of your interiors in a way that’s both professional and visually stunning.


More Stories
PVD-Coated vs. Traditional Furniture: Who win?
PCD Pharma Franchise Company in Baddi: Oasis Bio Bloom
Brass Hose Fittings: Perfect for Any Industry